- Best VPNs to change location to another country
- How to change VPN location on iPhone and Android
- How to change VPN location on a laptop or desktop PC
- How to use a VPN to change location on Linux
- Why is my VPN not changing my location: solutions
- How do I know if my VPN is changing my location?
- Why change your IP address to a different country?
- Is it legal to change your VPN location?
- How to change your location without a VPN?
- Final thoughts: choose the best method to change your location online
- How to Change your IP address: Frequently Asked Questions
Changing your VPN location is one of the easiest ways to make it look like you’re browsing the internet from somewhere else. By routing your internet traffic through remote servers, a VPN (virtual private network) gives you a new virtual location and hides your real IP address. This helps you bypass regional restrictions on websites and streaming services, maintain online privacy, and even unlock better prices while shopping online. Here’s how to do it in just a few simple steps.
- Open your VPN application: Launch the VPN software or app on your device.
- Navigate to server locations: Find the list or map of available server locations.
- Choose your desired location: Select a country or city to connect to.
- Connect to the server: Click “connect” to establish your new virtual location.
There are other ways to change your online location, such as using proxies (which I’ll cover later), but VPNs are safer and more reliable. Keep reading for more tips and insights on how to change your location with a VPN.
Best VPNs to change location to another country
When it comes to changing your location online, these are the top VPNs to consider:
-
1.NordVPN: The best VPN to change your location, with over 9300 servers in 137+ countries.
-
2.Surfshark: A budget-friendly option offering servers in 100+ countries and unlimited device connections.
-
3.Proton VPN: A privacy-focused VPN that lets you change your IP with a massive network across 148+ countries.
Our hands-on tests confirmed NordVPN as the best VPN that changes location, delivering fast and stable connections globally. Its extensive server network ensures you can always find a location that suits your needs, whether for streaming, gaming, or browsing securely. Plus, NordVPN offers easy-to-use apps for all devices, making it a top choice for anyone looking to change their IP address safely and efficiently.
How to change VPN location on iPhone and Android
Using a VPN is the easiest and most convenient way to change your IP address on a mobile device. It’s fast, simple, and doesn’t require any technical skills. A trusted VPN like NordVPN offers stronger privacy and security than any other method.
Here’s how to change your VPN location on mobile phones:
iPhone
Using a VPN on your iPhone can effectively hide your location by changing your IP address. This makes websites and apps think you’re browsing from an entirely different place. However, it’s important to know that a VPN doesn’t change your iPhone’s GPS location, which some apps use to detect where you actually are. To fully fake your location, you would need to use a GPS spoofing tool alongside your VPN, and sometimes even change your Apple ID region to access certain apps or content.
Here’s how to change your VPN location on an iPhone:
- Download and install a VPN app from the App Store.
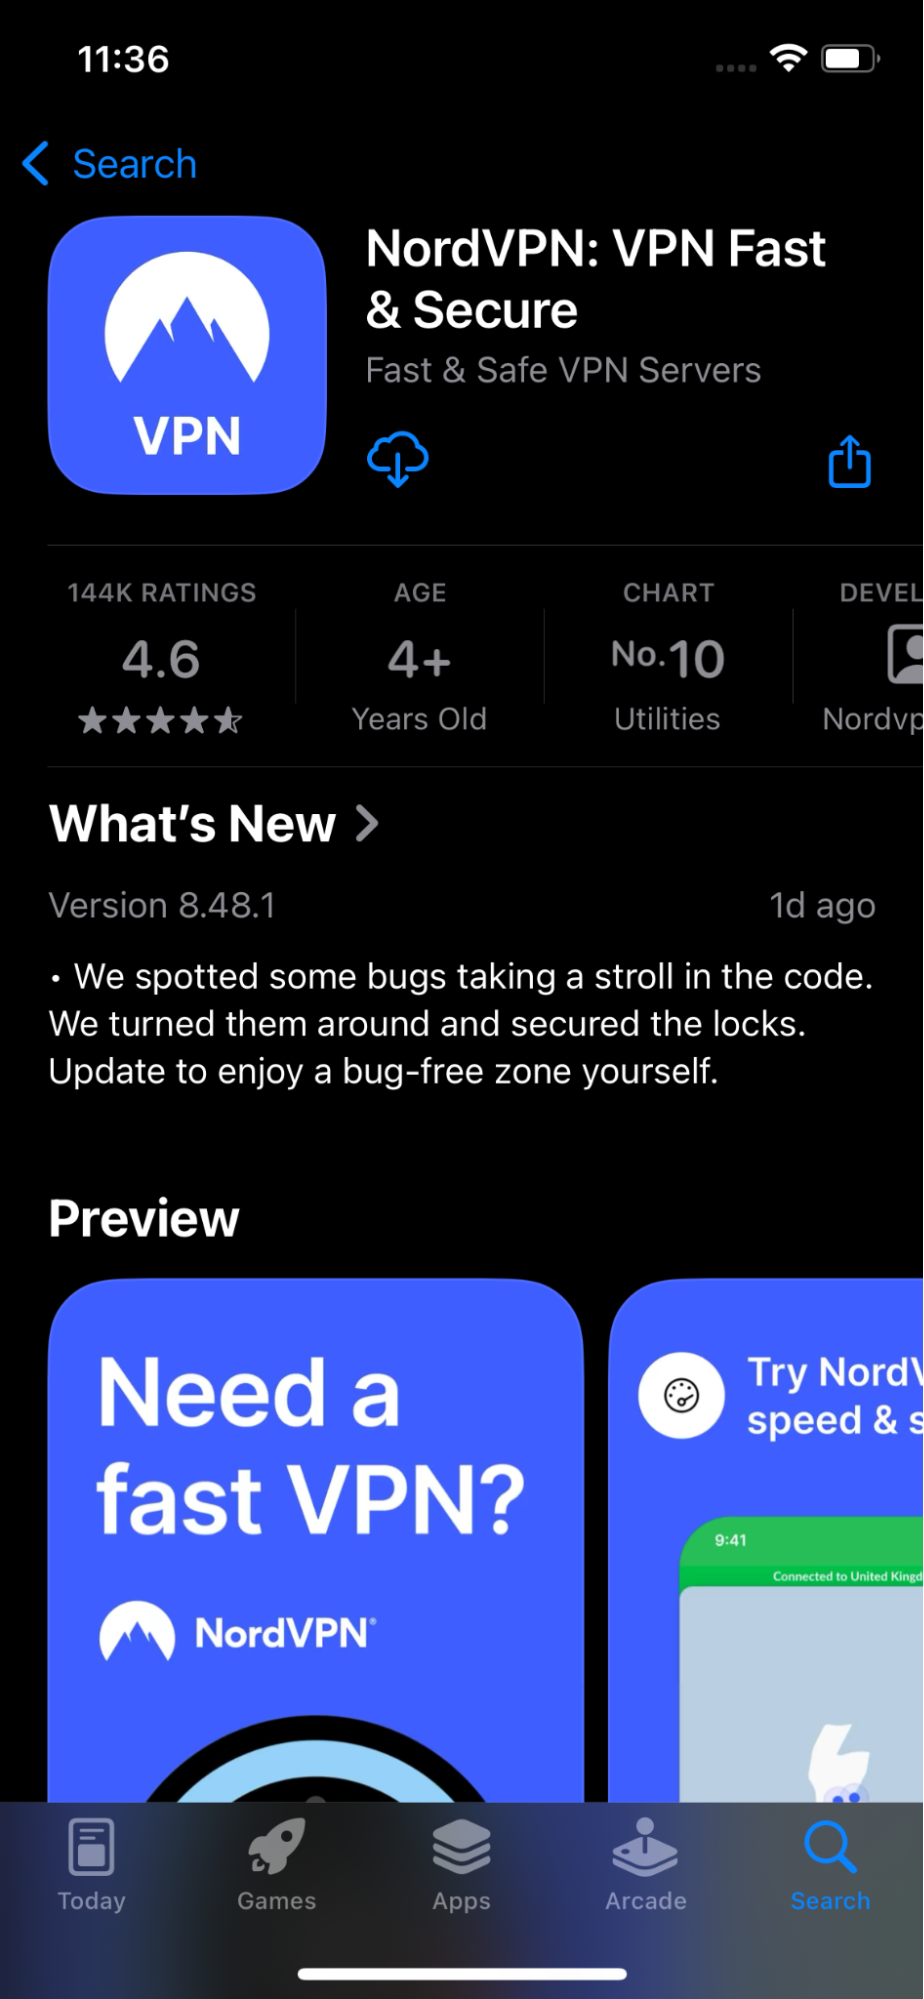
- Open the app and log in using your account credentials.
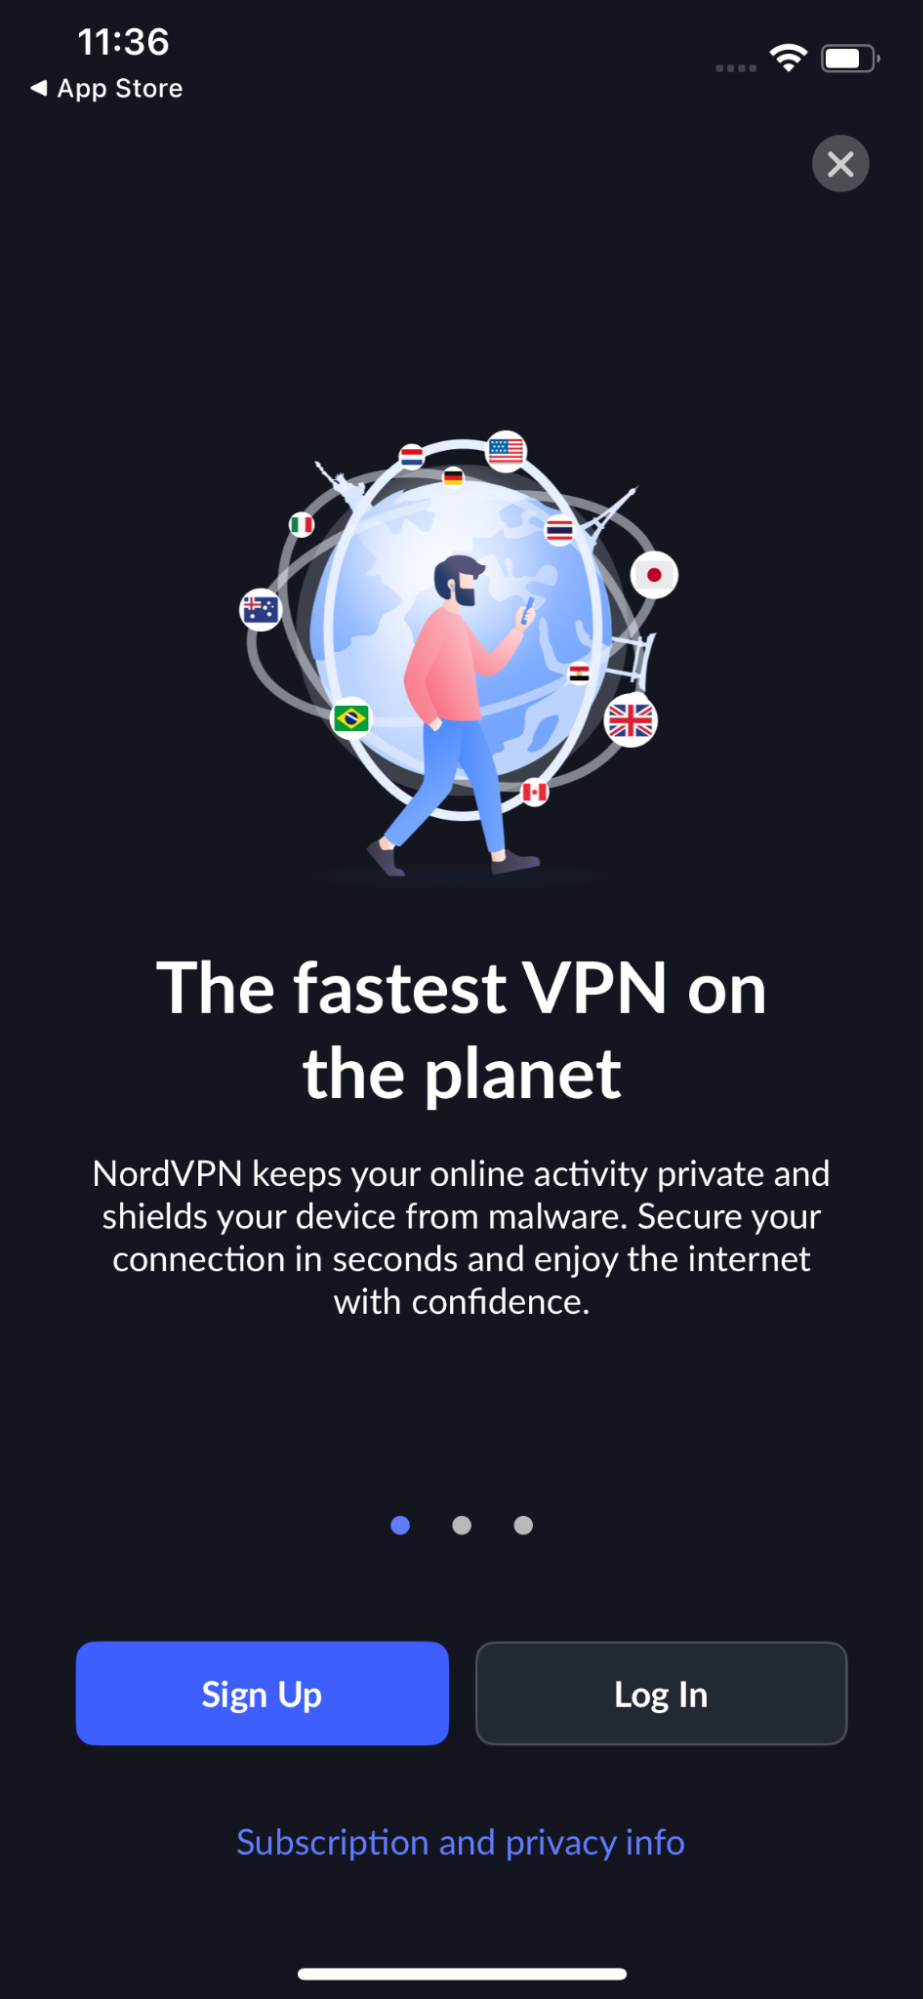
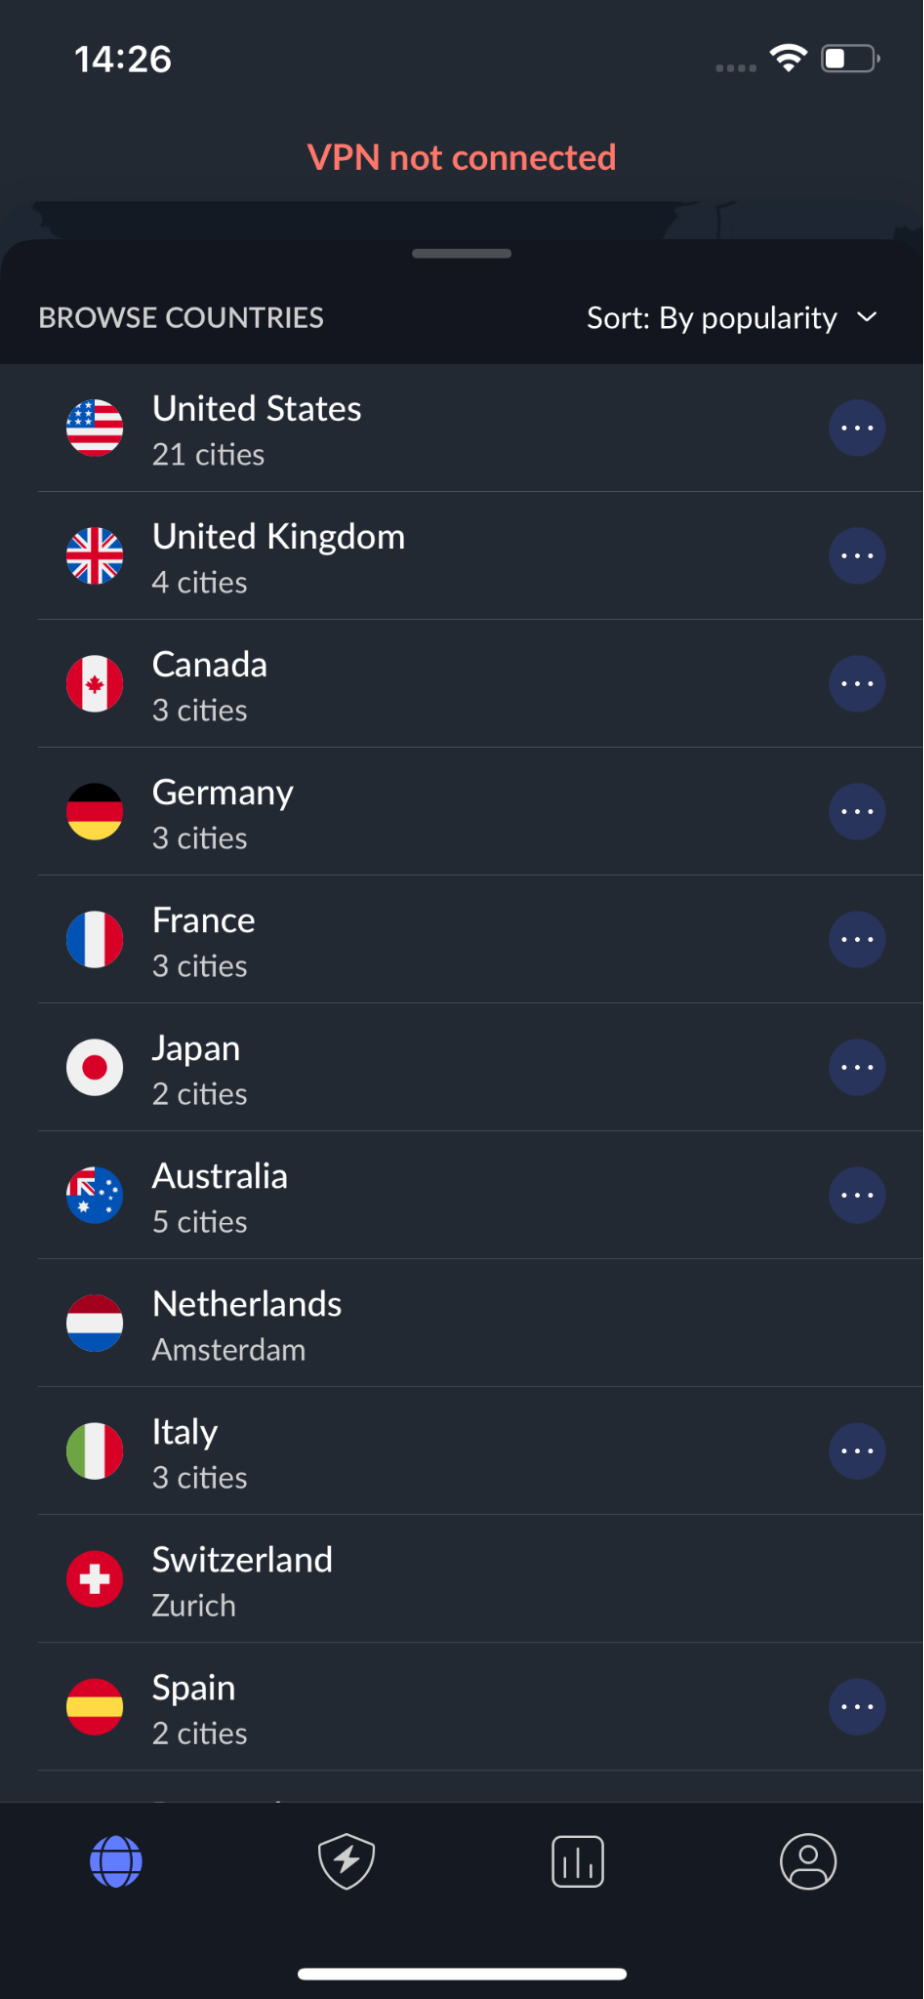
- Choose a server location by browsing the list of countries, typing in a location, or selecting from recommended servers.
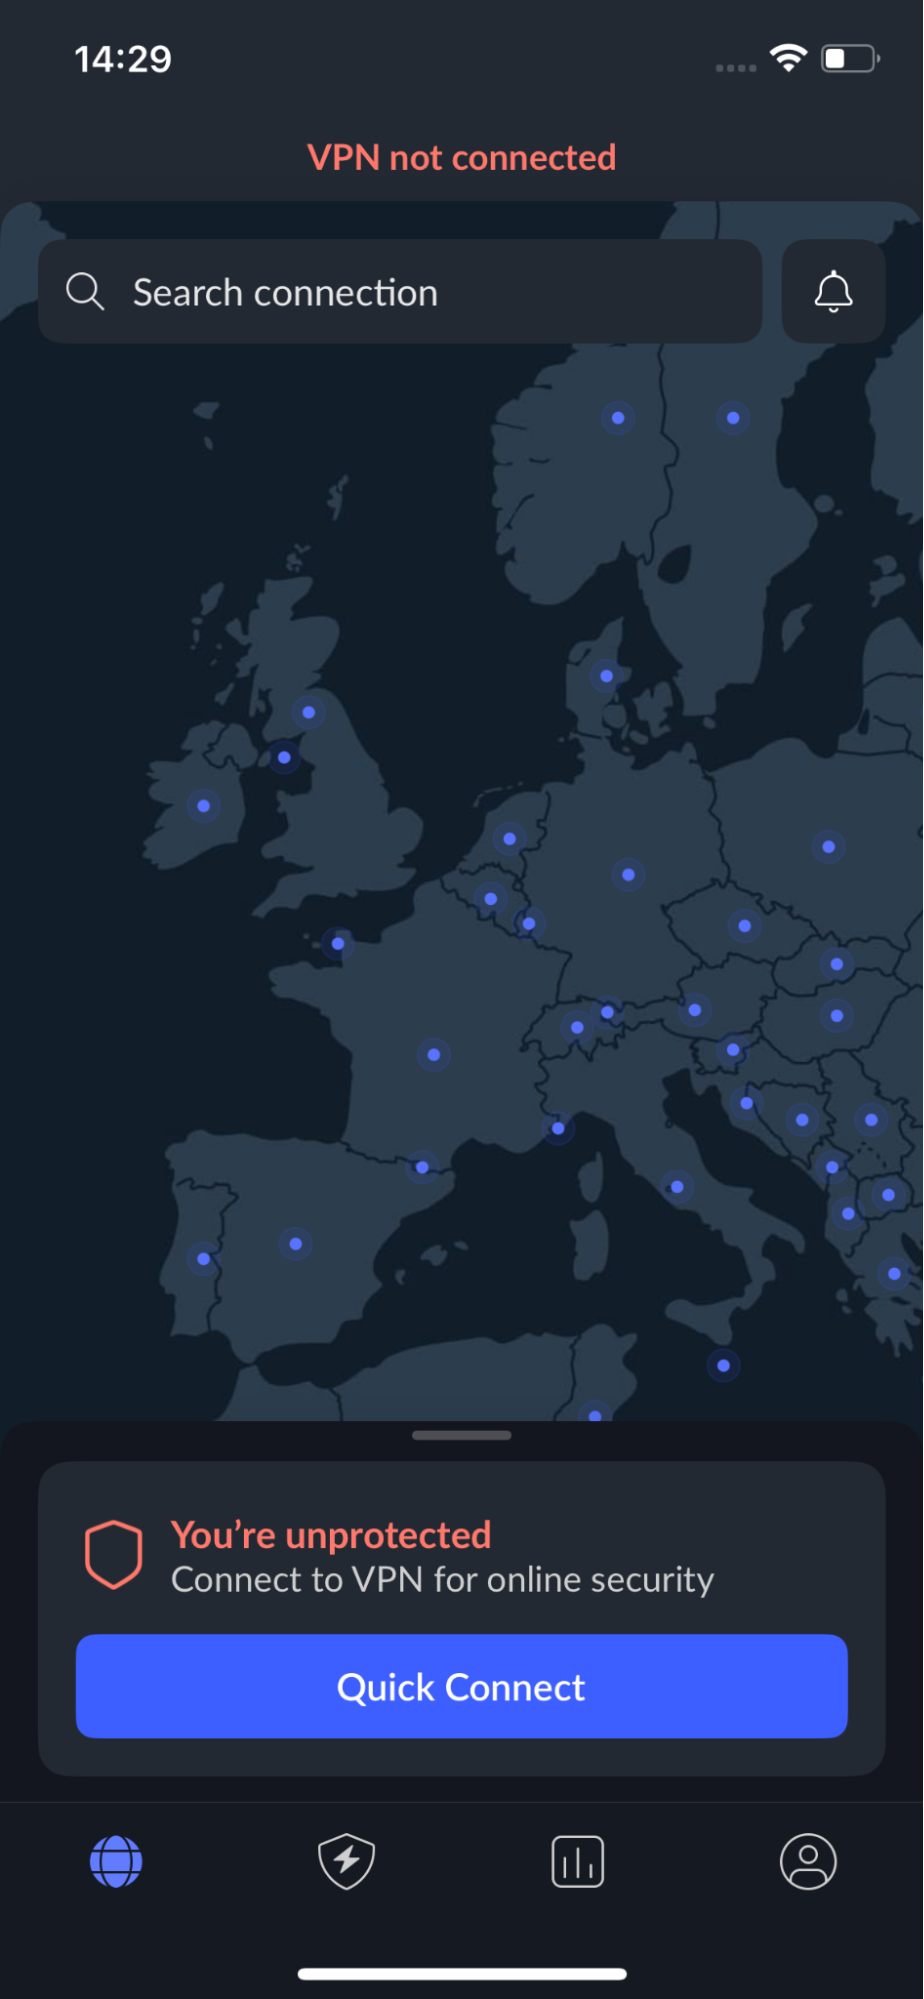
- Use the Quick Connect button to connect to the fastest or nearest server automatically.
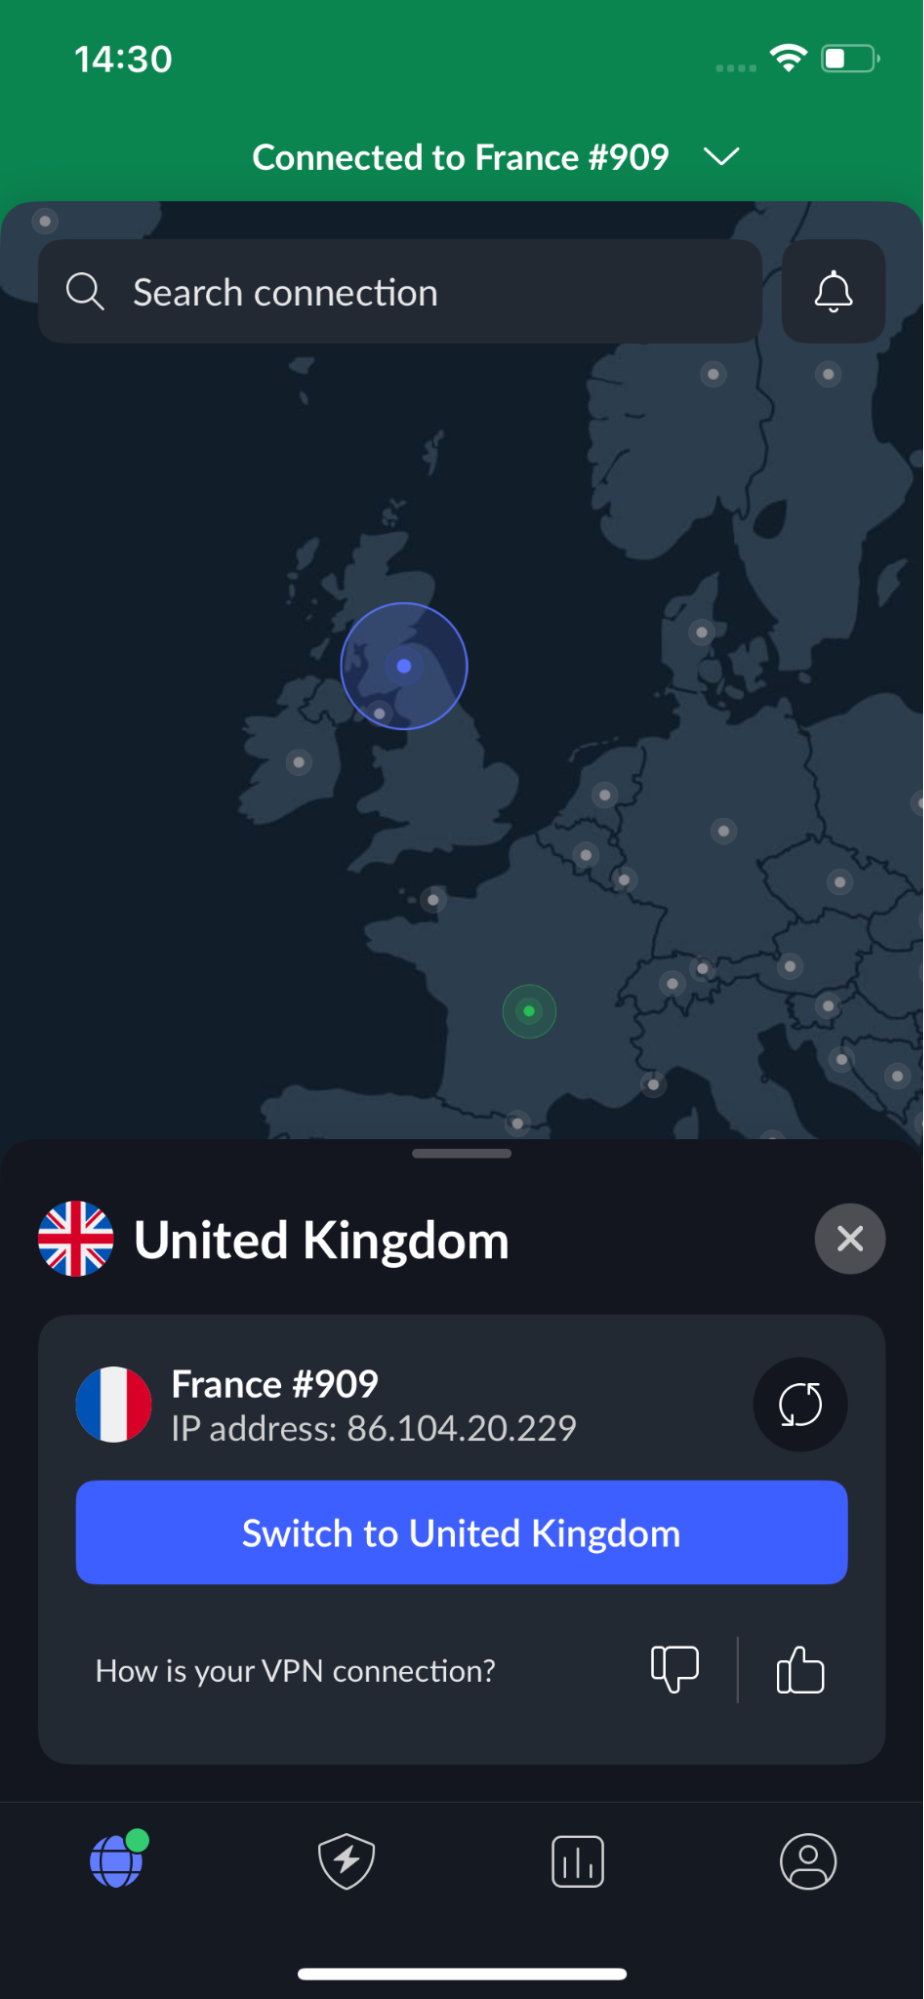
- To switch locations, simply disconnect and then select a new server to reconnect.
- Some VPN apps allow you to save favorite servers or set automatic connection preferences for easier use.
I highly recommend NordVPN for iPhone users because it’s easy to navigate, reliable, and offers strong privacy and security features, which makes changing your VPN location simple and safe.
Android
You can use a VPN on your Android device to change your IP address and hide your online location. Like on iPhone, a VPN doesn’t change your device’s GPS location, which some apps may use to track you. To fully fake your location, GPS spoofing tools may be needed in addition to a VPN.
Here’s how to change VPN location on Android:
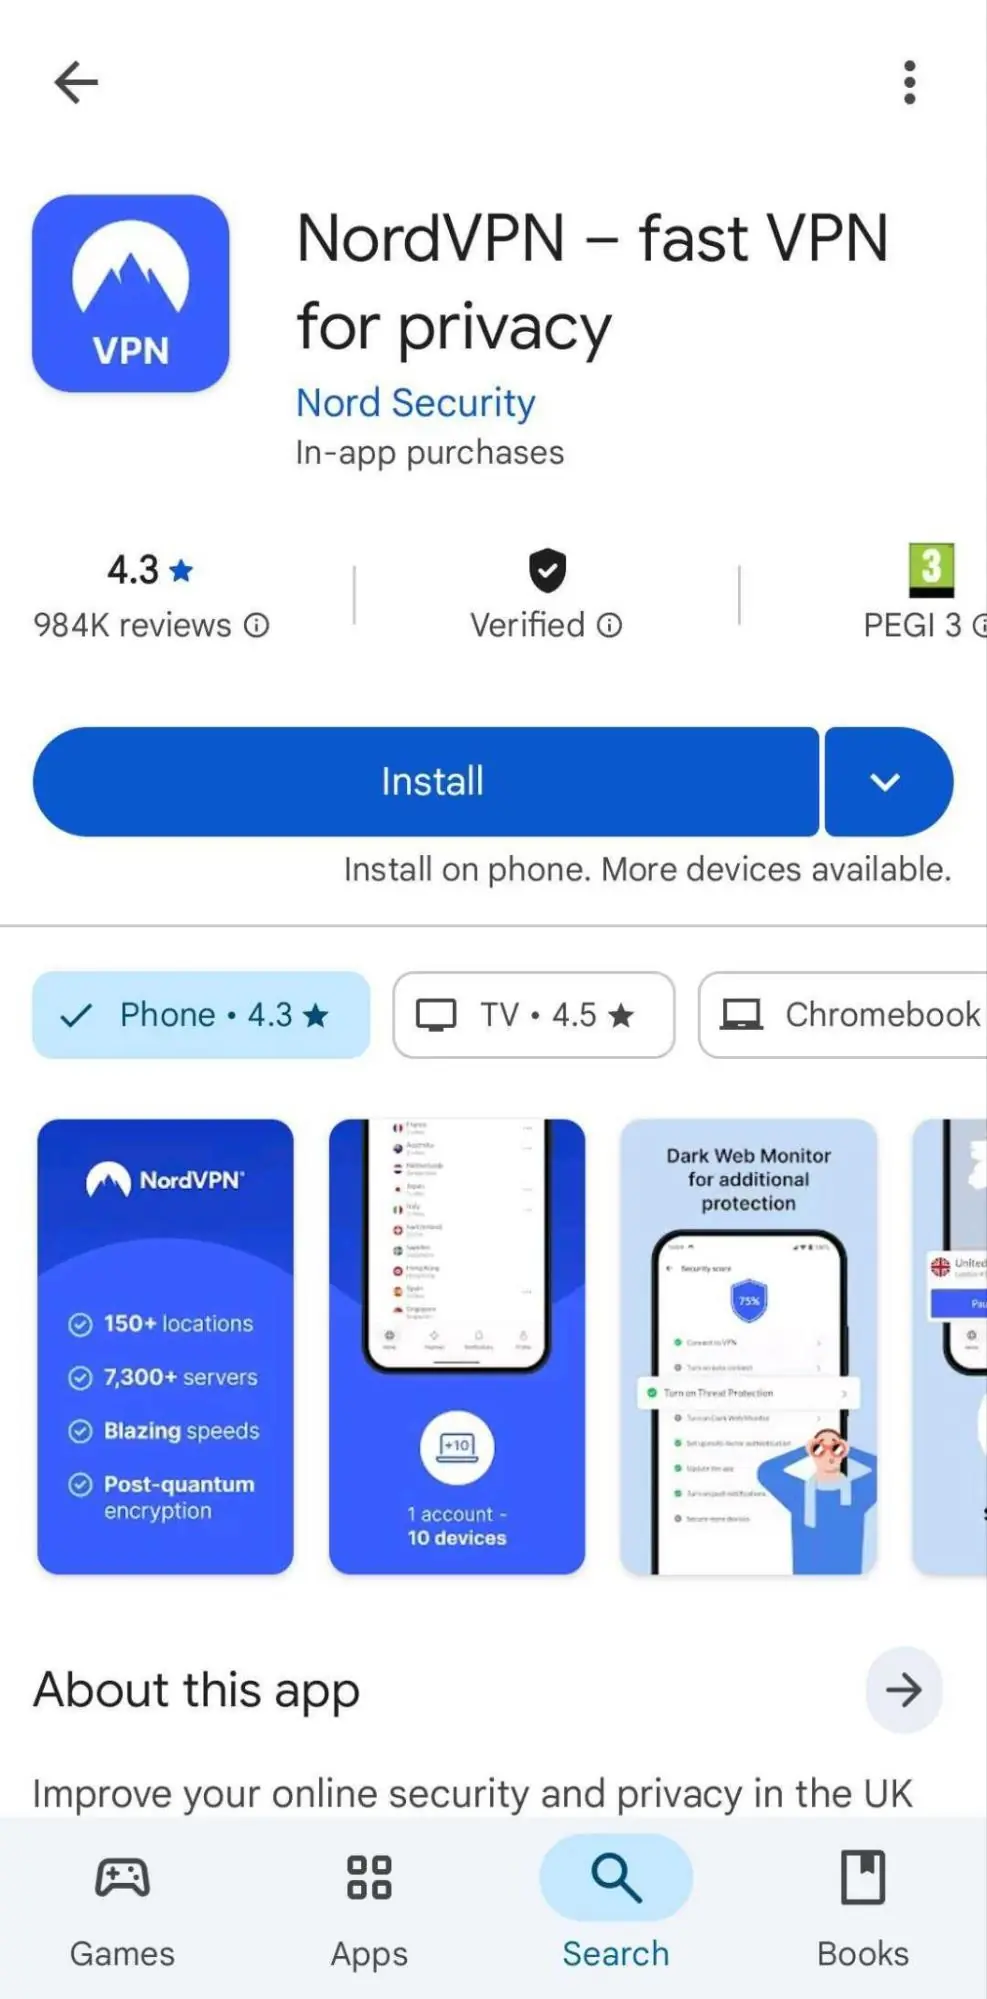
- Download the VPN app from the Google Play Store or by downloading the APK from a trusted source. For the best experience, I recommend using NordVPN.
- Open the app and log in with your account details.
- To connect, use the Quick Connect button to automatically link to the fastest server.
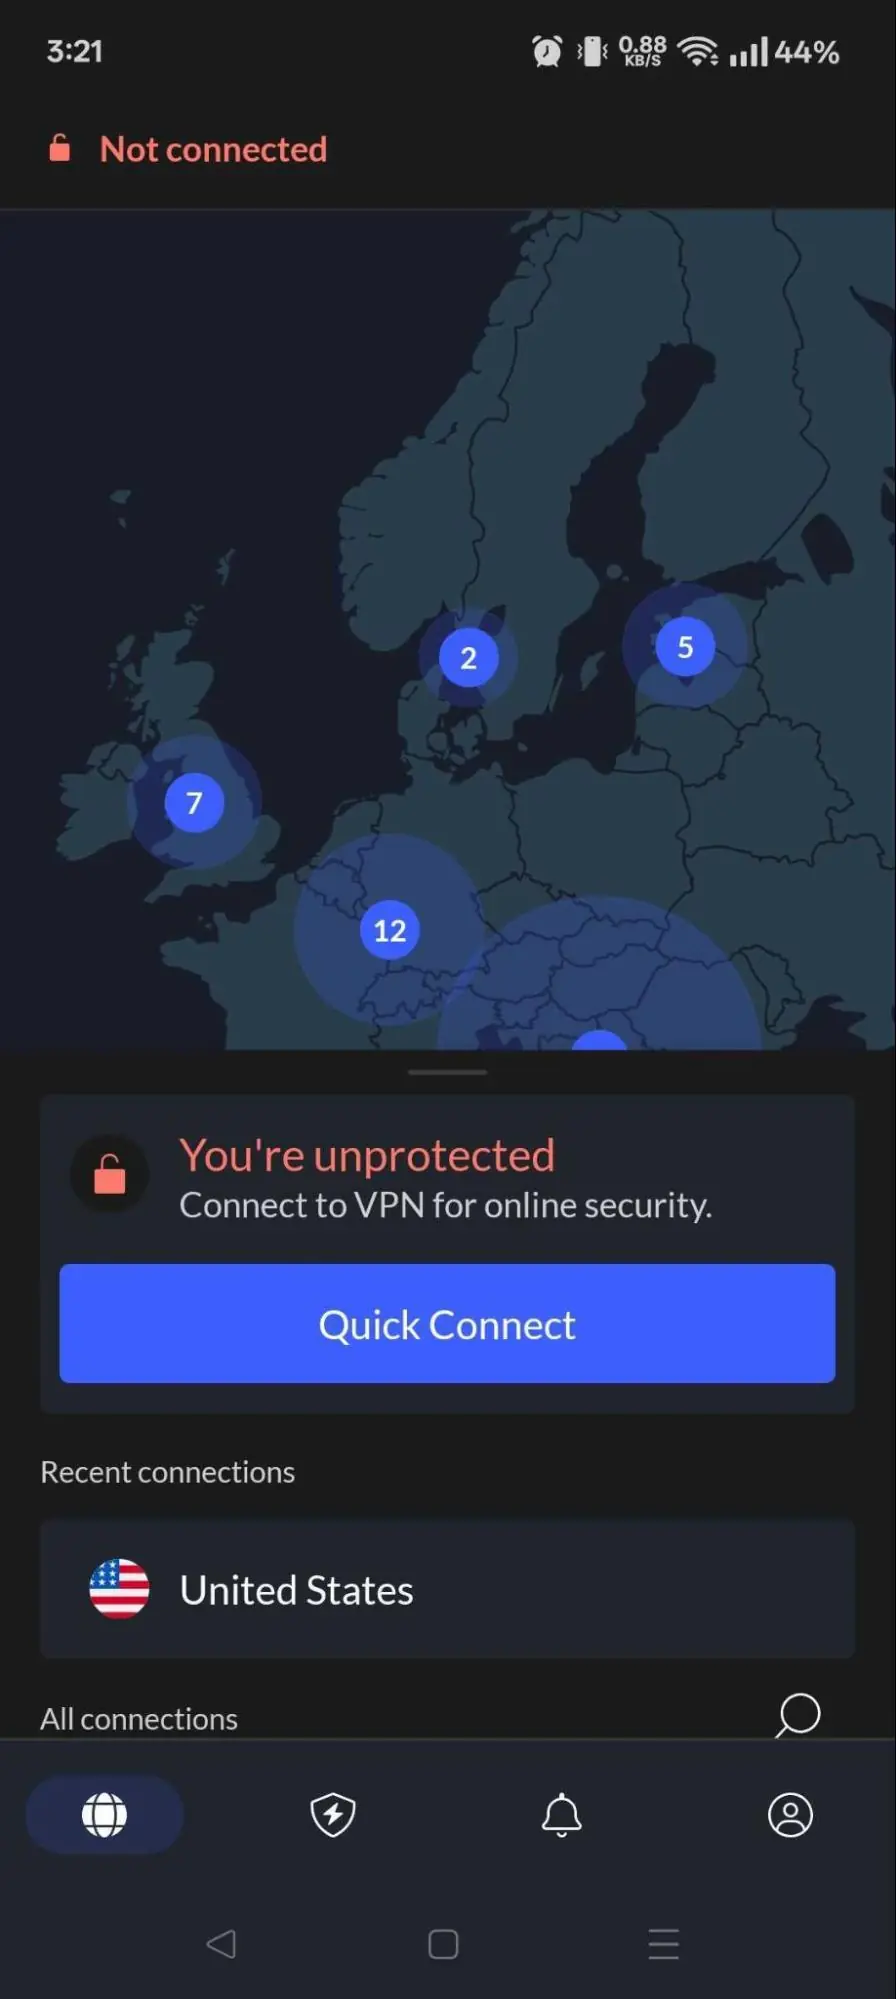
- Alternatively, tap Change to set preferences for connecting to the fastest, nearest, or your favorite location.
- You can also scroll through the list of available server locations or search for a specific country or city.
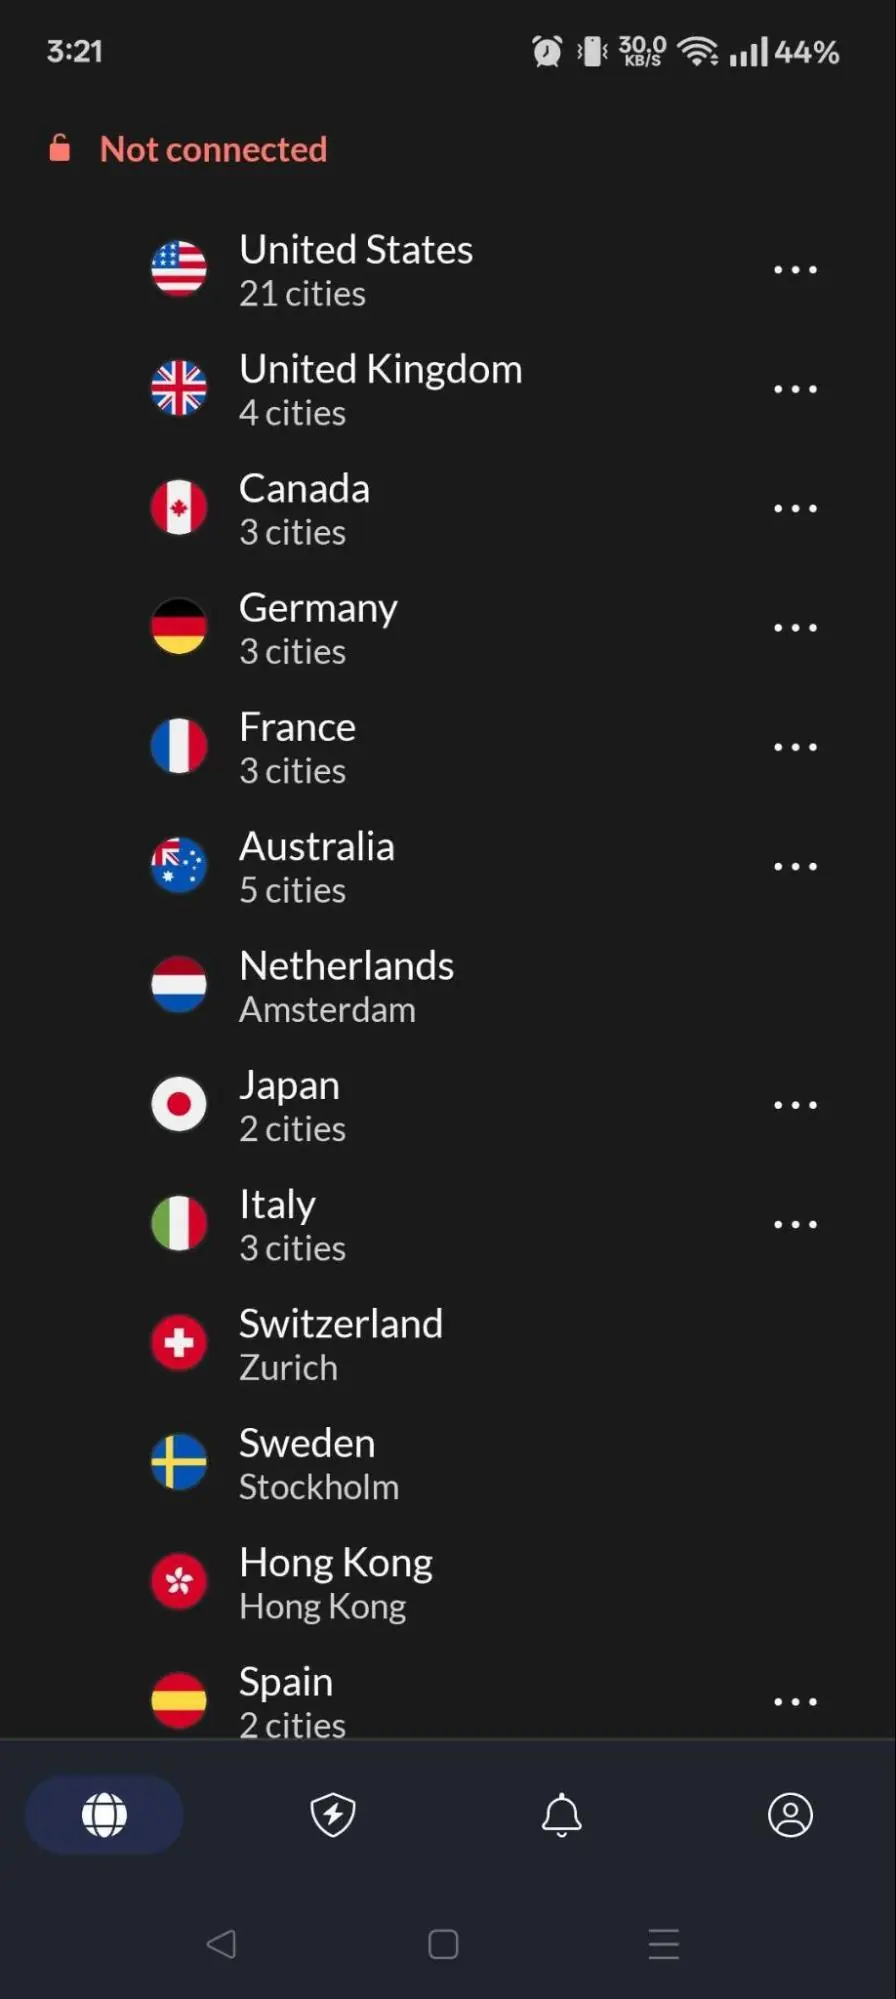
- Disconnect and reconnect to switch locations anytime.

How to change VPN location on a laptop or desktop PC
Changing your VPN location on a computer is easy with a reliable VPN app. However, some websites also use GPS data, so again, you may need a GPS spoofing tool for full location masking. VPNs alone change your IP address, offering privacy, access to content, and better security.
Mac
If you’re wondering how to change VPN location on Mac, the process is simple and only takes a few minutes. First, choose a reputable VPN provider like NordVPN and follow these steps:
- Download the VPN app: Visit the official website of the VPN provider and download the macOS app version.
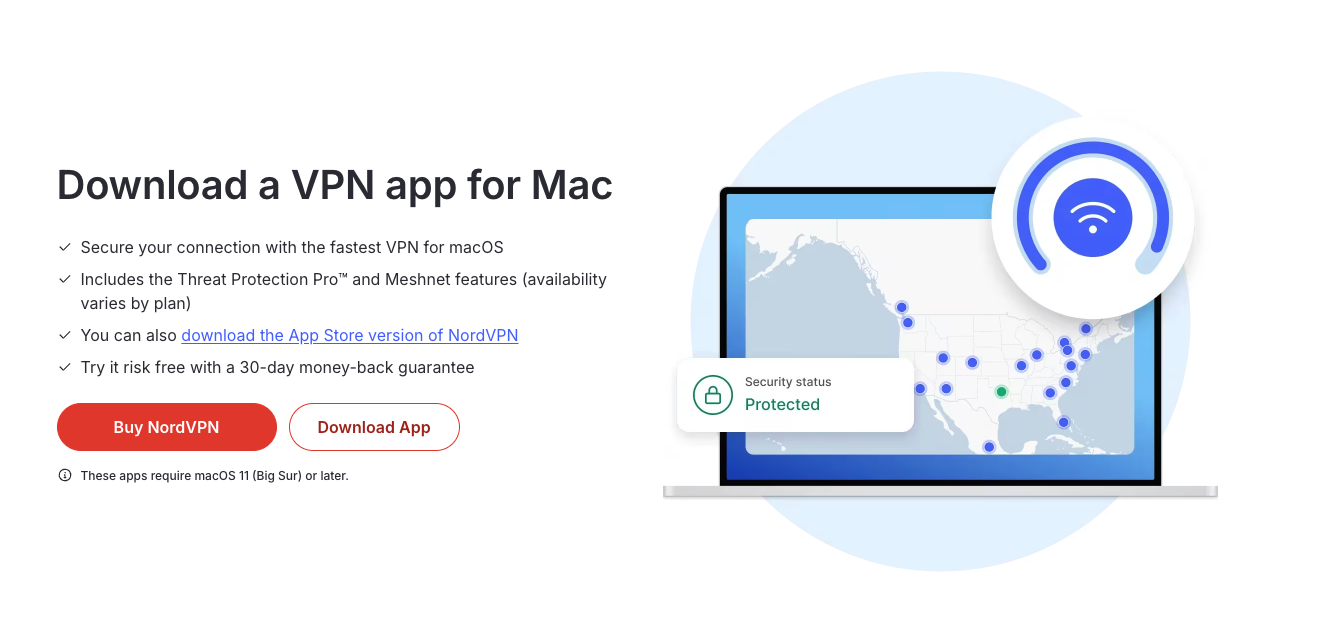
- Install the app: Open the downloaded file and follow the on-screen instructions to install it on your Mac.
- Open and log in: Launch the VPN app and sign in using your account credentials.
- Choose a VPN server location: Navigate to the list or map of available servers. You can select a specific country or city. Some apps offer a “fastest server” option, which connects you to the quickest available server based on your location.
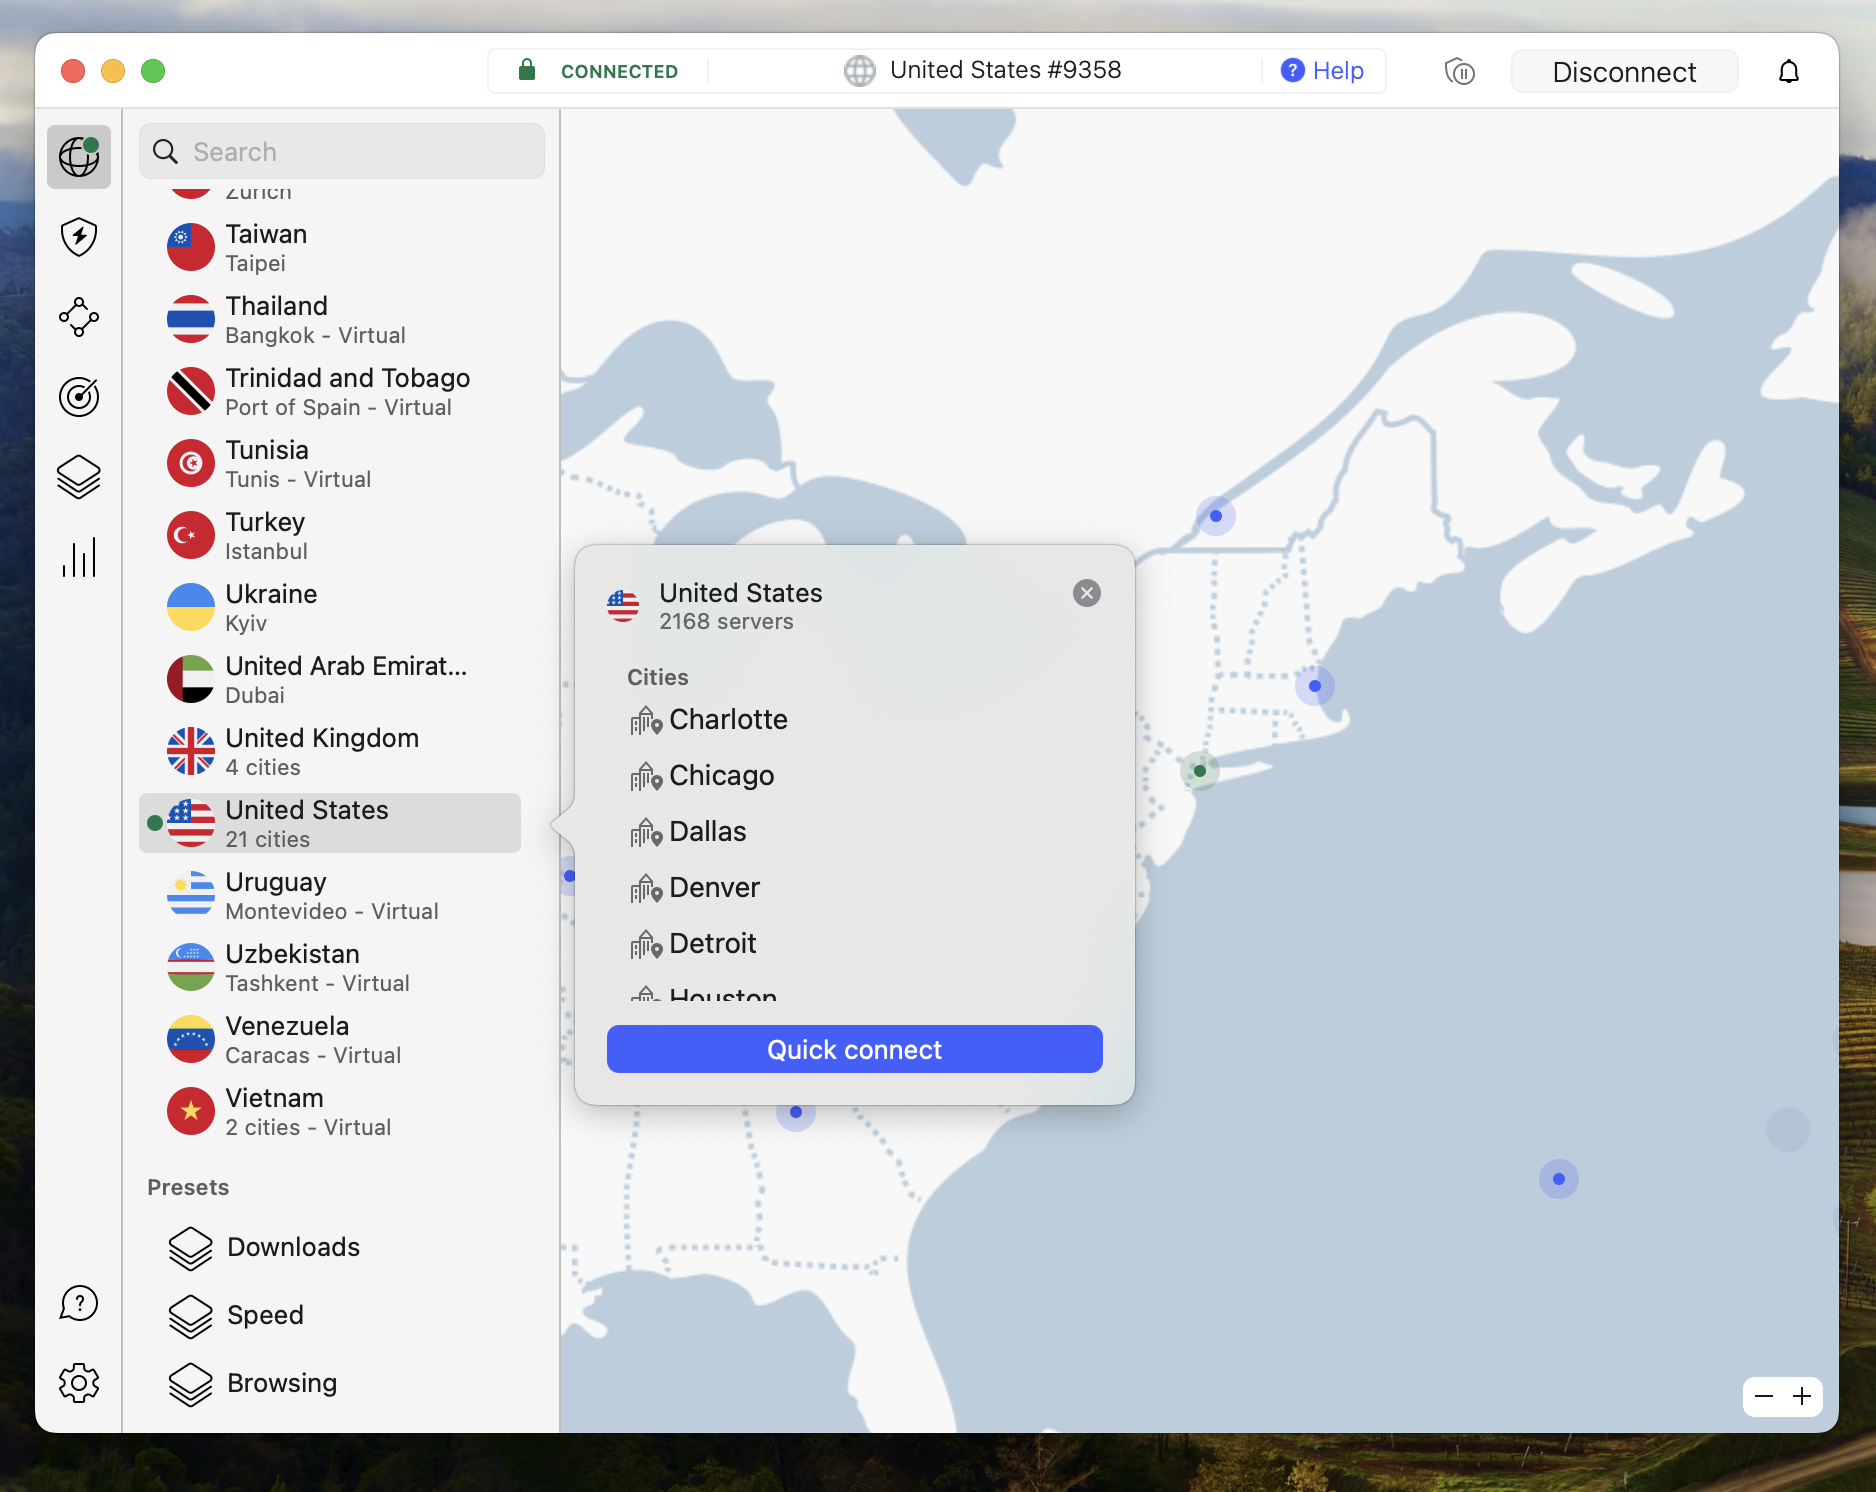
- Connect to the server: Click the “connect” button. Once connected, your IP address will change to match the server’s location, giving you a new virtual location instantly.
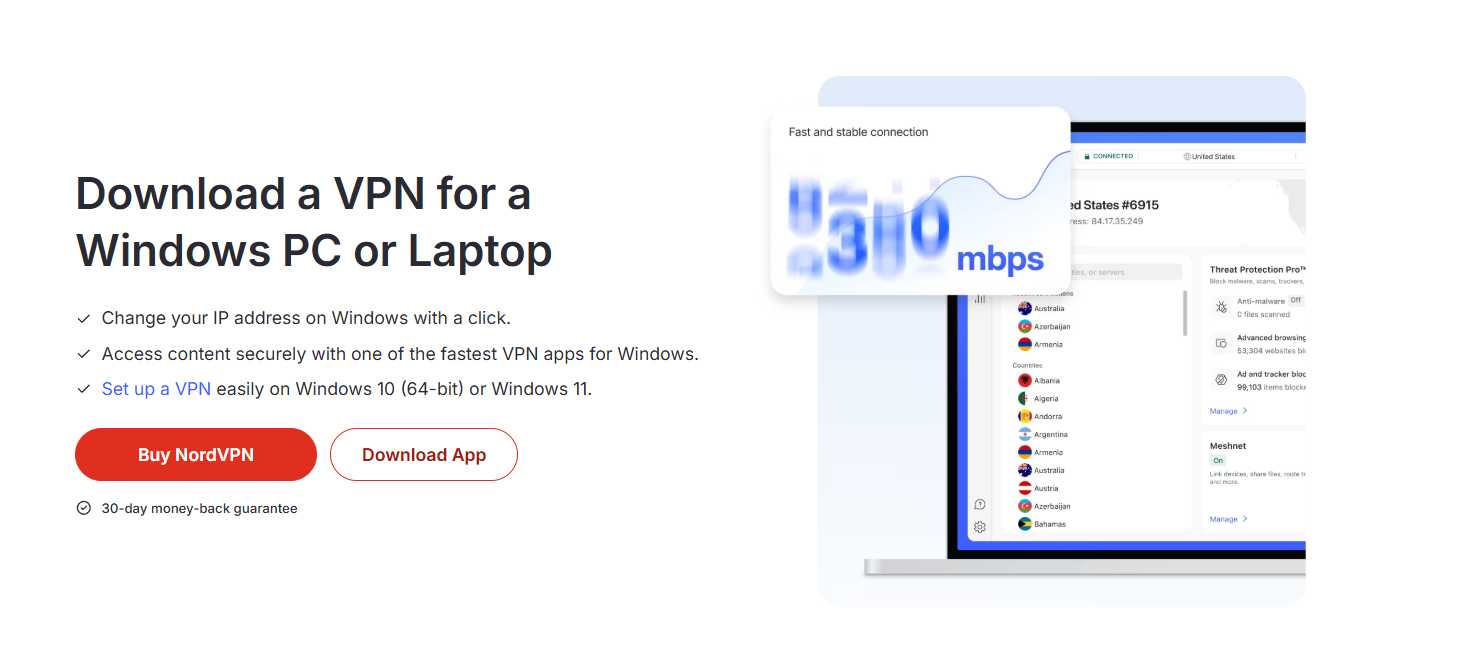
Windows
Here’s how to change VPN location on Windows in a few easy steps. A reliable VPN like NordVPN, Surfshark, or Proton VPN will make the process smooth and secure. Just follow these instructions:
- Download the VPN client: Go to the VPN provider’s website and download the Windows version of the app.
- Install the software: Open the setup file and complete the installation by following the prompts.
- Launch and sign in: Open the VPN app and log in with your account details.
- Select a server location: Browse the list or use the search feature to find a specific country or city. Many VPNs also let you sort by speed or choose the “best available” server for optimal performance.
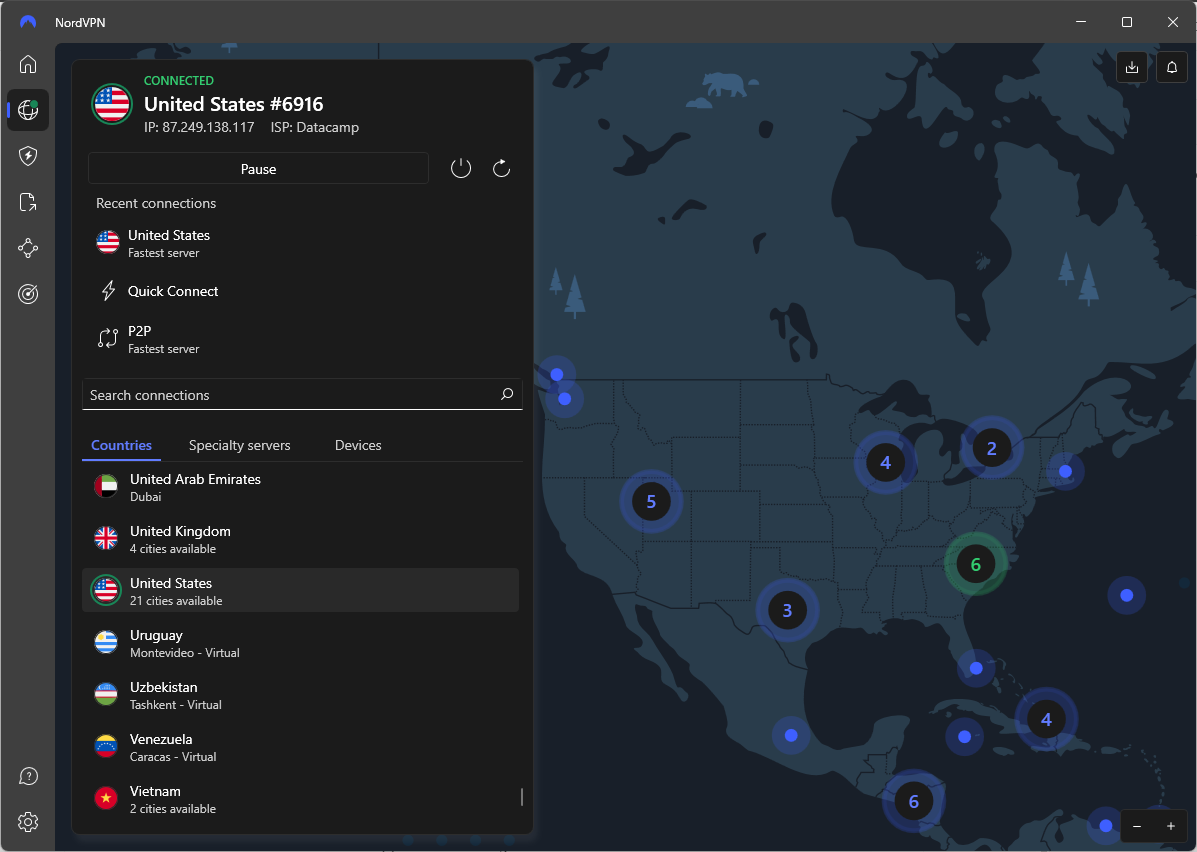
- Connect to the VPN server: Click the connect button to activate the VPN. Your IP address will now reflect the location of the server, giving you access to region-specific content and improved online privacy.
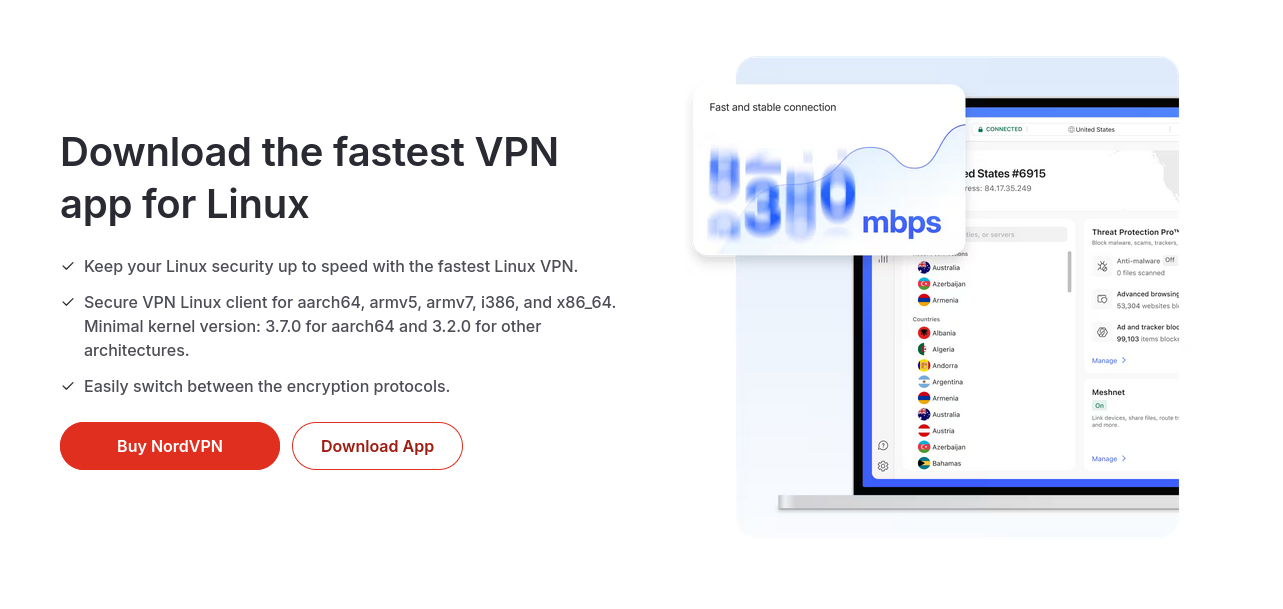
How to use a VPN to change location on Linux
Changing your VPN location on Linux is easy with a VPN provider that supports Linux well, like NordVPN and Surfshark. NordVPN is very user-friendly on Linux thanks to its command-line interface. Here’s how to change your location using NordVPN on Linux:
- Sign up and download: First, create an account on NordVPN’s website. Then, follow the instructions to download and install the NordVPN app for Linux using Terminal commands.
- Install the app: Run the installation commands provided on NordVPN’s site.
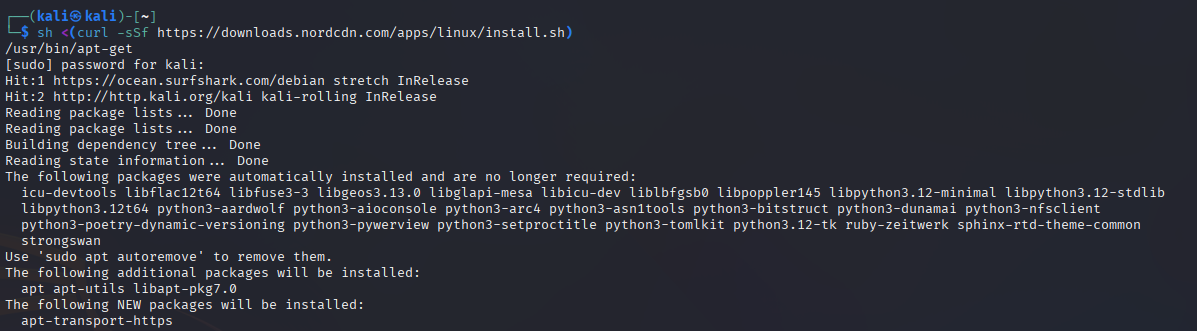
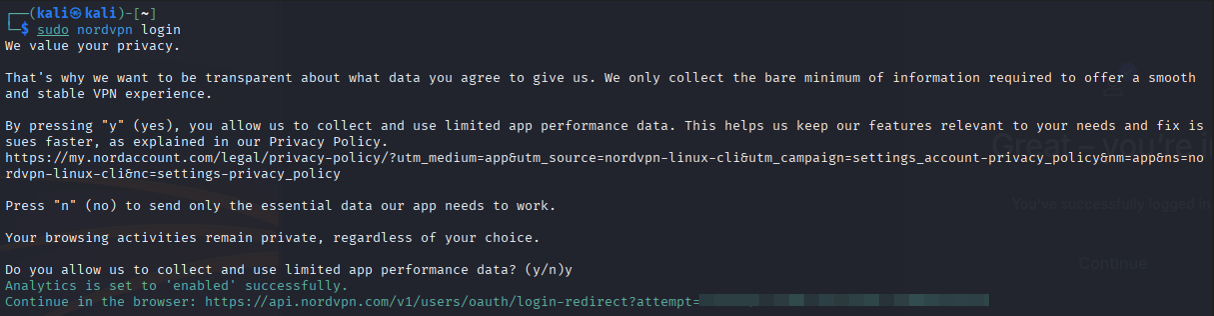
- Log in: Open Terminal and enter nordvpn login, then input your account details.
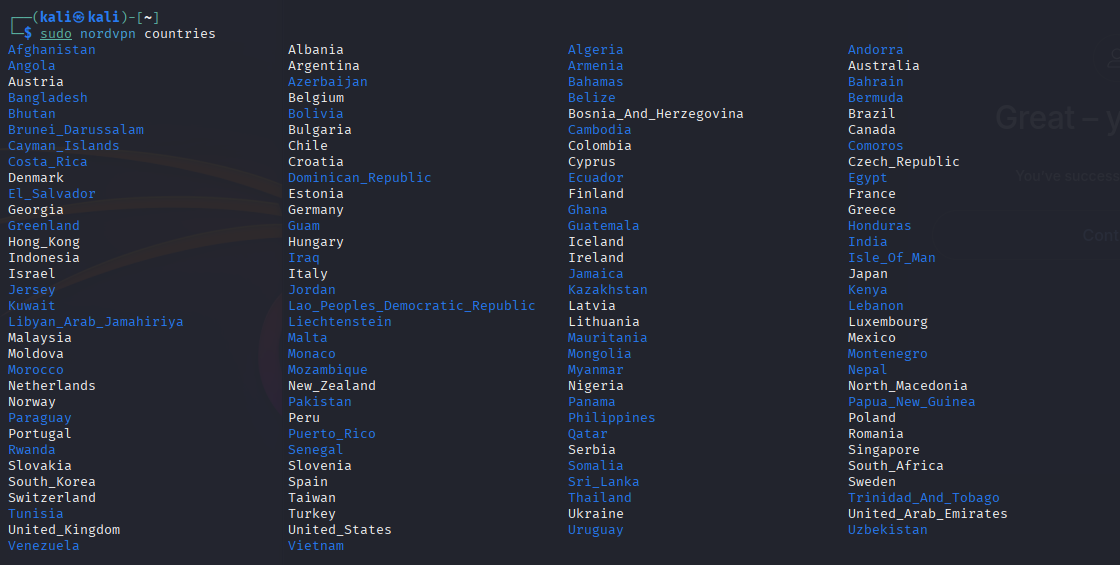
- Check available locations: Use nordvpn locations to see a list of countries and servers you can connect to.
- Connect to a server: Type nordvpn connect [country-code] to connect to your preferred location (for example, nordvpn connect us for the USA).

After connecting, your IP address will switch to the chosen server’s location, allowing you to browse as if you’re in that country. This method is secure, fast, and works well for Linux users who want to easily change their virtual location. Plus, NordVPN is the best free Linux VPN alternative since you can try it free for 30 days.
Why is my VPN not changing my location: solutions
Many users rely on VPNs to spoof their IP address and access geo-restricted content, but sometimes the location appears unchanged even after connecting. Understanding why your VPN isn’t changing your location helps you troubleshoot quickly and keep browsing safely. Here are some common reasons why your VPN might not update your location as expected:
- VPN server connection issues: Sometimes the VPN connects to a server but fails to assign a new IP address properly, often due to server overload or technical glitches.
- IP or DNS leak: If your VPN doesn’t prevent IP or DNS leaks, your real IP address could still be visible to websites, exposing your true location.
- Using free or unreliable VPN services: Many free VPNs lack the architecture to mask your location effectively, leading to mismatches or detection.
- VPN app configuration errors: Incorrect settings, outdated software, or conflicting network configurations can stop your VPN from routing traffic through the chosen server.
- Website or service blocking VPN IPs: Streaming services and some websites actively block known VPN IP addresses, which can make it seem like your location hasn’t changed.
How to fix your VPN not changing location:
- Reconnect to a different server in your desired country.
- Enable IP and DNS leak protection in your VPN settings.
- Update or reinstall your VPN app to fix bugs.
- Clear your browser cache and cookies to remove stored location data.
- Use a premium VPN provider with reliable location spoofing.
- Test your IP location using an online checker to confirm the change.
Following these steps should help you resolve most VPN location issues quickly and securely.
How do I know if my VPN is changing my location?
To confirm that your VPN is successfully changing your location, follow these simple steps:
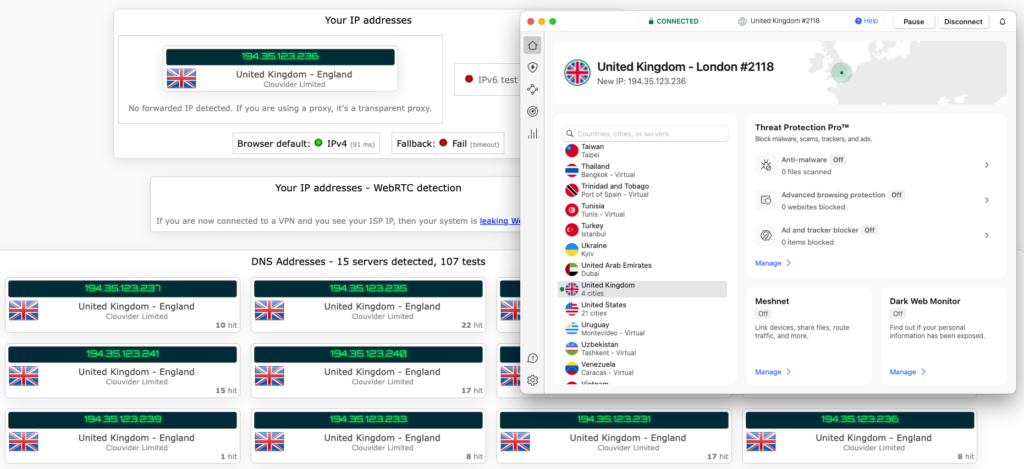
- Check your original IP address: Disconnect from your VPN and visit a site like WhatIsMyIPAddress.com to see your IP and location.
- Turn on your VPN and connect to a server: Choose a server in a different country, such as the UK, Germany, or France.
- Check your IP address again: Return to the IP lookup site. If the VPN works correctly, your IP and location should now show the VPN server’s location instead of your own.
- Check for leaks: Visit sites like IPLeak.net to detect any DNS or WebRTC leaks that might reveal your true IP despite the VPN connection.
Regularly verifying your VPN’s effectiveness is important to ensure your privacy stays protected, to bypass geo-restrictions, and to safely access location-specific content without exposing your real location.
Why change your IP address to a different country?
Changing your IP address to another country unlocks many benefits that improve your online experience. By hiding your real location, you can bypass restrictions, access exclusive content, boost your privacy, and even find better deals. Here are the top reasons why people choose to change their IP location:
1. Bypass geo-restrictions
Changing your IP location helps you bypass regional restrictions on websites and online services. This is useful for accessing social media, news, or streaming content blocked based on your physical location. For example, when accessing home content while traveling, you can watch your favorite shows or local news without limits.
It also allows access to restricted gambling and betting sites like DraftKings, Stake, and FanDuel, which have location-based rules. Streaming platforms like BBC iPlayer and IPTV services often restrict content by region, so changing your IP address lets you enjoy these services from anywhere in the world.
2. Access streaming libraries blocked in your region
Also, streaming services like Netflix, Hulu, and Disney+ offer different content libraries based on your country. By changing your IP address with a VPN, you can unlock movies, TV shows, and exclusive releases not available in your region.
For example, Netflix US has a larger selection of blockbuster films and series compared to other countries, while Japan’s Netflix offers unique anime titles. Similarly, Hulu is only available in the United States, but with a US IP address, you can access its entire library from anywhere. Switching your IP gives you more viewing options and a richer streaming experience.
3. Watch blacked-out sports broadcasts
Sports broadcasters often apply blackout restrictions based on your location, blocking access to live games to protect regional broadcasting rights. By changing your IP address to a country where the event isn’t restricted, you can bypass these blackouts and watch the game live.
This is especially useful for fans of the NFL, NBA, MLB, or NHL, where local blackouts are common. Let’s say, if a Yankees game is blacked out in New York, switching your IP to a different region allows you to stream it without restrictions. With a VPN, you’ll never miss your favorite teams in action.
4. Protect your online privacy
Your IP address reveals your approximate physical location and functions as a digital identifier that websites, advertisers, and third parties can use to track your activity. By changing your IP address with a VPN, you can hide your real location and make it much harder for anyone to trace your online behavior.
This not only protects your privacy but also boosts your overall online security. It reduces the chances of being targeted by hackers, prevents data profiling, and keeps sensitive information safer when using public Wi-Fi or unsecured networks. Changing your IP is a smart step toward safer, private browsing.
5. Get better prices on bookings, flights, and shopping
Many websites and service providers adjust their prices based on your geographic location, often charging more in certain countries or regions. By changing your IP address, you can browse from a different country and compare prices globally to find better deals.
This can help you save money on streaming subscriptions, airline tickets, hotel bookings, and more. For instance, a flight from New York to London may cost less when booked from an IP address in another country. Changing your virtual location helps you avoid location-based price discrimination and shop smarter online.
Is it legal to change your VPN location?
Yes, it is generally legal to change your VPN location in most countries. Using a VPN to protect your privacy, secure your internet connection, or access content from other regions is allowed and widely practiced. However, how you use the VPN matters.
Accessing content that violates a platform’s terms of service (like streaming libraries not licensed in your country) may breach user agreements, but is not usually considered illegal. In contrast, a few countries, such as China, Russia, and Iran, have strict regulations or outright bans on VPN usage. Always check your local laws before using a VPN.
How to change your location without a VPN?
A VPN isn’t the only way to change your online location. While it’s the most secure option, several other methods can also hide or modify your IP address and location. Let’s take a look at some of the most common alternatives you can try.
1. Use a Smart DNS
Smart DNS is a popular method to change your online location, especially for streaming. Unlike a VPN, it doesn’t encrypt all your internet traffic. Instead, it reroutes only the data that reveals your geographic location (usually your DNS queries). This makes it fast and ideal for unblocking region-locked content with minimal speed loss.
Here’s how to use Smart DNS:
- Choose a Smart DNS service: Pick a reliable provider such as Unlocator or SmartDNSProxy.
- Create an account and log in: Sign up and access your dashboard.
- Register your IP address: Most services need to verify your current IP to activate Smart DNS.
- Update DNS settings on your device: Follow the provider’s instructions to manually configure DNS settings on your device or router.
- Restart your device and test: Reboot to apply changes, then visit a geo-restricted site to see if access is unblocked.
2. Use Proxy Servers
Proxy servers act as intermediaries between your device and the internet, allowing you to change your IP address and appear as if you’re browsing from a different location. Exact setup steps vary by device, but generally, you need to:
- Find a reliable proxy provider (free or paid).
- Get the proxy server address and port number.
- Go to your device’s network settings.
- Manually enter the proxy details under your browser or system settings.
Once configured, your IP address and location will change. However, be aware that most web proxy servers do not encrypt your data. While they hide your location, your online activity can still be exposed, making them less secure than VPNs.
3. Change the IP address manually
You can manually change your IP address through your device’s network settings or by requesting a new IP from your ISP. However, this is the least secure option. It doesn’t encrypt your traffic or shield you from trackers, offering no real privacy or protection while browsing online.
Change your IP address on iPhone
To manually change your IP address on an iPhone:
- Open Settings and tap Wi-Fi.
- Tap the (i) icon next to your connected network.
- Scroll to Configure IP and select Manual.
- Enter a new IP address, subnet mask, and router (consult your network admin or provider).
- Tap Save to apply the changes.
Change your IP address on Android
To manually change your IP address on an Android device:
- Open Settings and tap Network & Internet > Wi-Fi.
- Tap the gear icon next to your connected Wi-Fi network.
- Tap Advanced, then IP settings and change from DHCP to Static.
- Enter your desired IP address and other required network details.
- Tap Save to apply changes.
Change your IP address on Mac
To manually change your IP address on a Mac:
- Open System Settings > Network.
- Select your active network connection (e.g., Wi-Fi or Ethernet).
- Click Details > go to TCP/IP tab.
- Set Configure IPv4 to Manually.
- Enter your new IP address, subnet mask, and router info.
- Click OK and Apply to save changes.
Change your IP address on Windows
To manually change your IP address on a Windows PC:
- Go to Settings > Network & Internet > Wi-Fi or Ethernet.
- Click Properties next to your active connection.
- Scroll to IP settings and click Edit.
- Change from Automatic (DHCP) to Manual.
- Enable IPv4 and enter your new IP details.
- Click Save to apply changes.
Final thoughts: choose the best method to change your location online
If your goal is to protect your privacy, bypass firewalls, or access restricted content safely, the best way to change your real IP address and location is by using a VPN. VPNs encrypt your internet traffic, hide your true IP, and provide reliable access to servers worldwide. Among many options, NordVPN stands out as a top recommendation. It’s user-friendly, highly secure, and offers affordable plans for individuals and families.
With NordVPN, you can easily switch your virtual location on any device, ensuring your online activity stays private while unlocking geo-restricted content. Whether you’re streaming, gaming, or just browsing, choosing a trustworthy VPN like NordVPN gives you the best balance of security, speed, and convenience when changing your IP location.
Related guides on changing your VPN country:
- How to change your Apple Store country
- How to change your Google Play Store country
- How to change location on Hinge
- How to change your region on PS4 and PS5
How to Change your IP address: Frequently Asked Questions
Yes, a VPN changes your IP address by routing your internet traffic through a secure server in a different location. This masks your real IP address and assigns you one based on the VPN server’s location, which helps to protect your privacy and access region-restricted content. It’s one of the main reasons people use VPNs – for anonymity and to appear as if they’re browsing from another place.
To change your VPN location for free, download a reputable free VPN app like Proton VPN. After installing, open the app, sign up if needed, and select a server location from the available free options. Connect to the server, and your IP address will change to match that location. Keep in mind, free VPNs may have limited locations, speeds, and data allowances.
Proton VPN is one of the best free VPNs to change your location. It offers unlimited data and access to servers in the US, Netherlands, and Japan without ads or speed throttling. Unlike many free VPNs, it’s privacy-focused and doesn’t log your activity. It’s a reliable choice for safely changing your IP address and accessing region-restricted content without paying for a subscription.
A VPN changes your IP address every time you connect to a different server location. You can manually switch servers as often as you like to get a new IP. Some VPNs also offer automatic IP rotation, changing your IP at set intervals for added privacy. However, unless you reconnect or switch locations, your IP usually stays the same for the duration of the VPN session.
No, a VPN does not change your ‘Find My iPhone’ location. ‘Find My iPhone’ uses GPS and Apple’s location services, which rely on satellite and cellular data, not your IP address. So, a VPN can change your virtual location for browsing, but it doesn’t affect GPS-based apps. To hide your iPhone’s location, you’d need specialized GPS spoofing tools on top of a VPN.